How to Install Laminate Flooring Like A Pro
26th Jun 2023
Laminate flooring is a popular choice for many homeowners due to its durability, affordability, and ease of installation. If you're thinking about installing laminate flooring in your home, this blog post is for you. Here, we'll provide a step-by-step guide to help you install laminate flooring like a pro. Remember that you will need the right tools and it will definitely help if you fancy yourself as a competent DIYer! If the task seems like a daunting one, it is probably left to the professionals, but if you have the skills and the know-how, then read on!
Step 1: Prepare the Room
Before you start installing laminate flooring, you'll need to prepare the room. First, remove all furniture and other objects from the area where you plan to install the flooring. Then, inspect the subfloor to make sure it's clean, dry, and level. If the subfloor is uneven, you may need to use a self-leveling compound to even it out. An uneven subfloor is the cause of most flooring problems down the line, so this is an extremely important step. Finally, lay a moisture barrier to prevent any moisture from seeping through the subfloor.
Step 2: Measure and Cut the Flooring
Once you've prepared the room, it's time to measure and cut the laminate flooring. Start by measuring the length and width of the room to determine how much flooring you'll need. Then, cut the flooring to the appropriate size using a saw or a laminate cutter. Don't forget to leave a ¼ inch gap between the flooring and the walls to allow for expansion.
Step 3: Lay the First Row
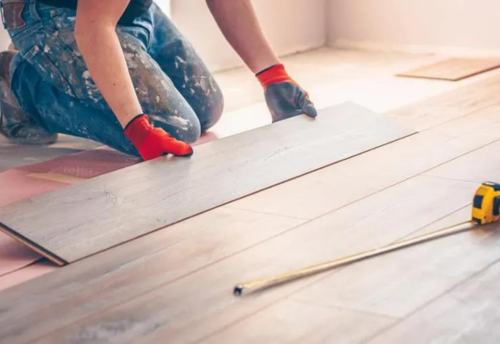
Now, it's time to lay the first row of laminate flooring. Start by laying the planks along the longest wall, with the tongue facing towards the center of the room. Be sure to use spacers to maintain the ¼ inch gap between the flooring and the wall. Then, click the planks together using a tapping block and hammer. Repeat this process until you've completed the first row.
Step 4: Install the Rest of the Flooring
With the first row in place, it's time to install the rest of the flooring. Begin each new row with a plank cut to a random length to ensure that the joints are staggered. Click each plank together by tapping with a hammer and tapping block. Remember to use spacers to maintain the gap between the flooring and the walls.
Step 5: Finish the Installation
Once you've laid all the flooring, it's time to finish the installation. Install transition strips where the laminate flooring meets other types of flooring, such as carpet or tile. Then, remove the spacers and install skirting boards or scotia beading along the walls to cover the gap between the flooring and the wall.
Conclusion
Installing laminate flooring may seem intimidating, but with the right tools and a little bit of know-how, it's a job that can be completed by competent DIYers. By following these steps, you can install laminate flooring like a pro and enjoy a beautiful and durable new floor in your home.
If you have any questions about laminate flooring, or need any installation advice, feel free to give our team a call on 01905 954045 who will be more than happy to help.


